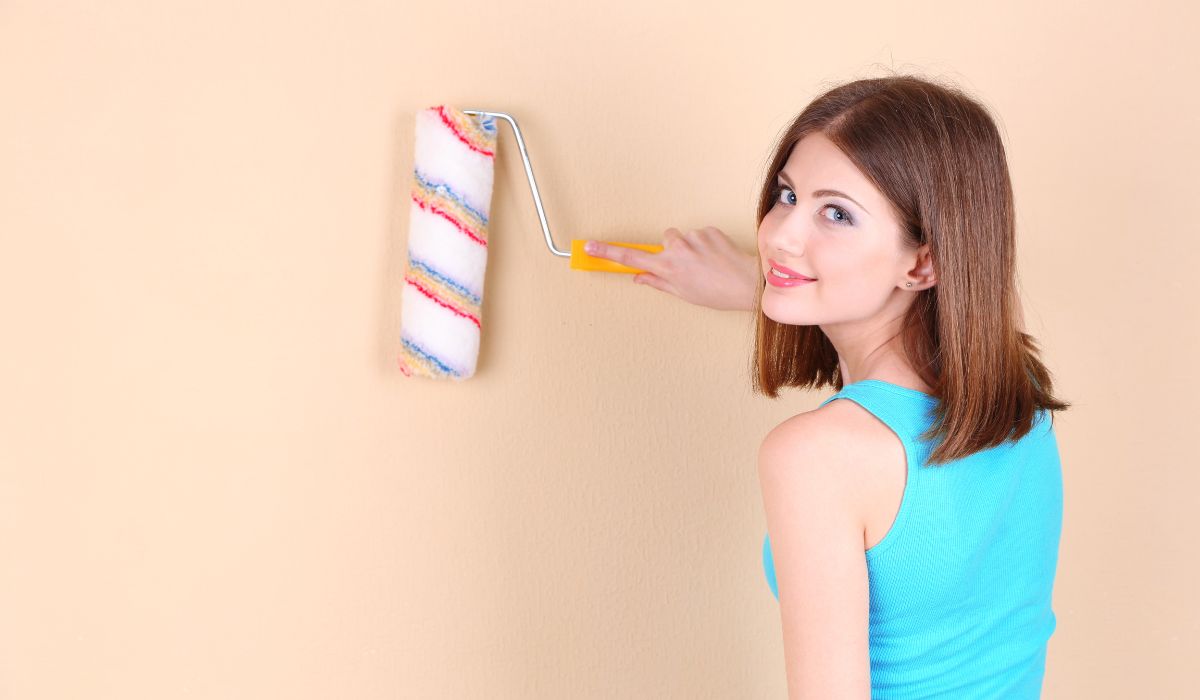
Do you want to know how to Paint Stripes on Wall? It was surprisingly simple for me to make the stripes on the walls of our guest bedroom. Learn every nuance right here.
Whether you choose a sophisticated tone-on-tone colour scheme or a delightful blend of bright hues, a striped wall paint design adds bold interest to plain spaces. Simply use your preferred paint colours and some inexpensive materials to make a striped wall pattern.
We recommend using painter’s tape to create crisp lines, but a steady hand and the right brush can achieve a charming hand-painted look as well. It’s a good idea to get a few paint samples of your top choices before starting the job so you can do some swatch testing before you start the stripes.
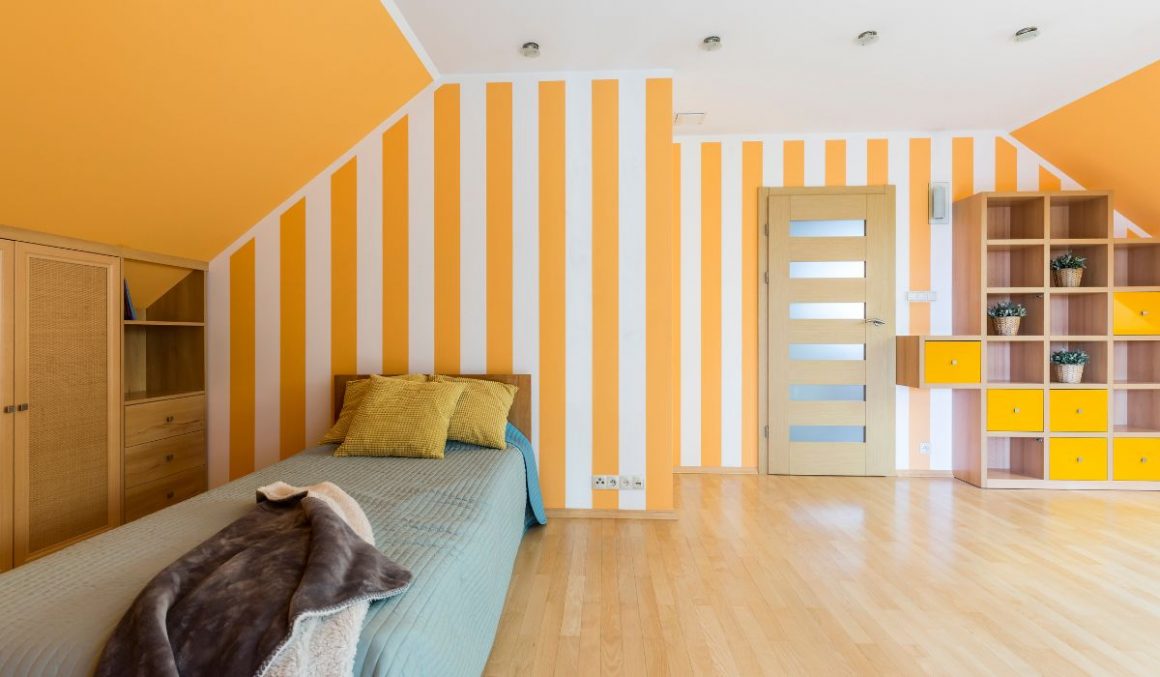
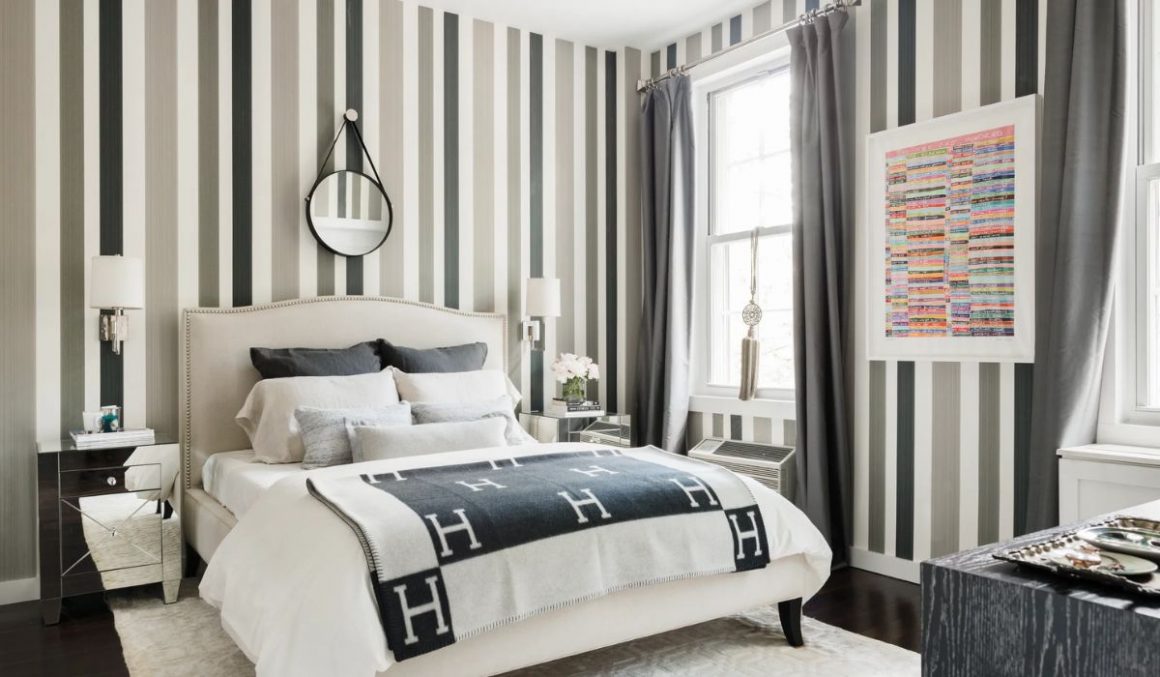
Take care that the values of adjacent stripes are consistent. Achieve a sophisticated appearance by combining several tints of the same colour (two shades of tan, for instance, or three tints of blue). High-contrast striped walls are great for accent walls or small spaces like those below a chair rail.
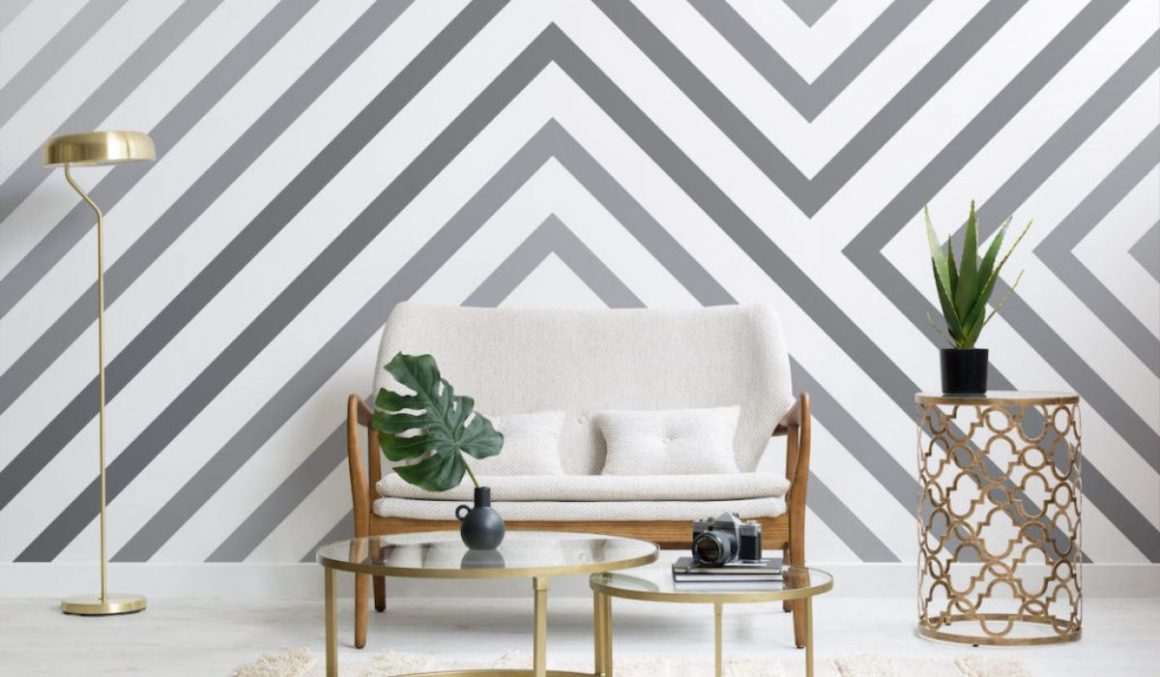
Think about more than just the colour of your stripes; the pattern they make is important, too. The visual effect of vertical stripes on a wall is one that is generally sought after. Likewise, a narrow room can be tricked into looking more spacious by painting one wall in broad horizontal stripes. Additionally crucial is the stripe’s width. While broad stripes can be overwhelming in a small space, they add a chic touch to a more expansive room.
Once you’ve decided on a colour scheme and design for your stripes, you can follow our easy instructions to get started. If you combine this with some professional guidance, you can paint neat and tidy stripes on your walls in no time.
The Following Items are Required to Paint Stripes on Wall
- Painters tape.
- A ruler or straight edge.
- Pencil.
- A good quality paintbrush or roller.
- Your choice of paint colours.
Also Read: Art Deco Kitchen
Steps to Paint Stripes on a Wall
Step 1: Use Painters Tape to Mark the Areas
The first step in painting stripes on a wall is to tape off the areas that will be painted. Straight, even lines will be much easier to achieve, and unintended spots on the wall will be protected from paint. A straight edge or ruler can be used to guarantee uniformity and precision in line drawing.
Apply the tape to the wall and press firmly to ensure a good seal. Make sure the lines are straight and even by using the straight edge and repositioning the tape if necessary. Step two can begin once you’ve delineated the areas that will receive stripes.
Step 2: Use a Pencil to Draw Lines Along the Edge of the Tape
Tape off the areas where the stripes will be. And then use a pencil to draw lines parallel to the tape’s edge. You can then use this as a stencil to paint the stripes in a straight line with consistent spacing.
A line can be drawn along the length of the tape by holding the pencil parallel to the edge of the tape. Use a ruler or straight edge to keep the lines even and straight, and make any necessary adjustments. After you’ve marked off the tape’s perimeter with a pencil, you can start painting the stripes. The end result will look more polished if the stripes are straight and evenly spaced.
Also Read: Bedroom Decor
Step 3: Paint the Wall the Desired Colour.
The next step is to paint the wall with the chosen colour. We need a high-quality paintbrush or roller for this task. Pick a brush or roller that will work well with the paint and the wall’s current condition. Make sure the paint is evenly coloured by thoroughly mixing it before you start painting. The next step is to apply the first coat of paint to the wall using the paintbrush or roller, adhering to the pencil lines you previously drew.
Use the ruler or straight edge to ensure that the paint is applied evenly and that the stripes are uniform in width. Once the colour of the paint has dried, you can move on to the next step in the process.
Step 4: Carefully Remove the painter’s Tape
Once the first colour of the paint has dried, the next step is to carefully remove the painter’s tape. Take your time and be cautious so that you don’t rip up any of the new stripes of paint. If any of the stripes do get pulled up, you can touch them up with a small paintbrush. After you have removed the painter’s tape, use the pencil to draw lines along the edge of the painted stripes. This will serve as a stencil for the second coat of paint, facilitating its straight and even application.
Holding the pencil at an angle, draw a line parallel to the edge of the painted stripes. Use a ruler or straight edge to keep the lines even and straight, and make any necessary adjustments.
Step 5: Add Any Additional Colors or Details That You Like to Create
Once the paint has dried, you can add any additional colours or details to make the striped pattern more intricate and visually appealing. Mark off the areas where you want the new colours to be using the painter’s tape, and then proceed with the rest of the painting process as usual.
Diagonal stripes, zigzag stripes, and chevron stripes are just a few of the patterns that one can make. Apply the paint slowly and carefully, and use a ruler or straight edge to make sure the lines are straight.
Step 6: Let the Paint Dry
Wait for the paint on the wall to dry completely after you’ve finished painting the stripes before removing the painter’s tape. This will aid in keeping the paint from smearing and smearing and will guarantee that the stripes are straight and uniform. Leave the wall alone for the amount of time recommended on the paint can, or until the paint is no longer tacky to the touch, to let the paint dry.
Carefully peel off the tape from the walls once the paint has dried. Take your time and be cautious so that you don’t rip up any of the new stripes of paint. The stripes can be touched up with a small paintbrush if they get pulled up. Once the painter’s tape has been taken off, the striped wall can be admired. The stripes will give your room a modern and updated feel by adding colour and texture.
Also Read: Bathroom Trends
Finishing Up!
Painting stripes on a wall, in conclusion, is an easy and inexpensive way to give a room a new look and feel. If you follow the advice in this article, you’ll be able to paint stripes on your wall that look great and add to the room’s decor.
To paint stripes, first tape off the areas that will receive paint, then draw lines to serve as a guide for where to paint, and finally, use a high-quality paintbrush or roller to apply the colour carefully. An attractive and distinctive striped pattern on your wall is well within your reach if you take your time and pay close attention to detail to ensure the stripes are straight and evenly spaced.


